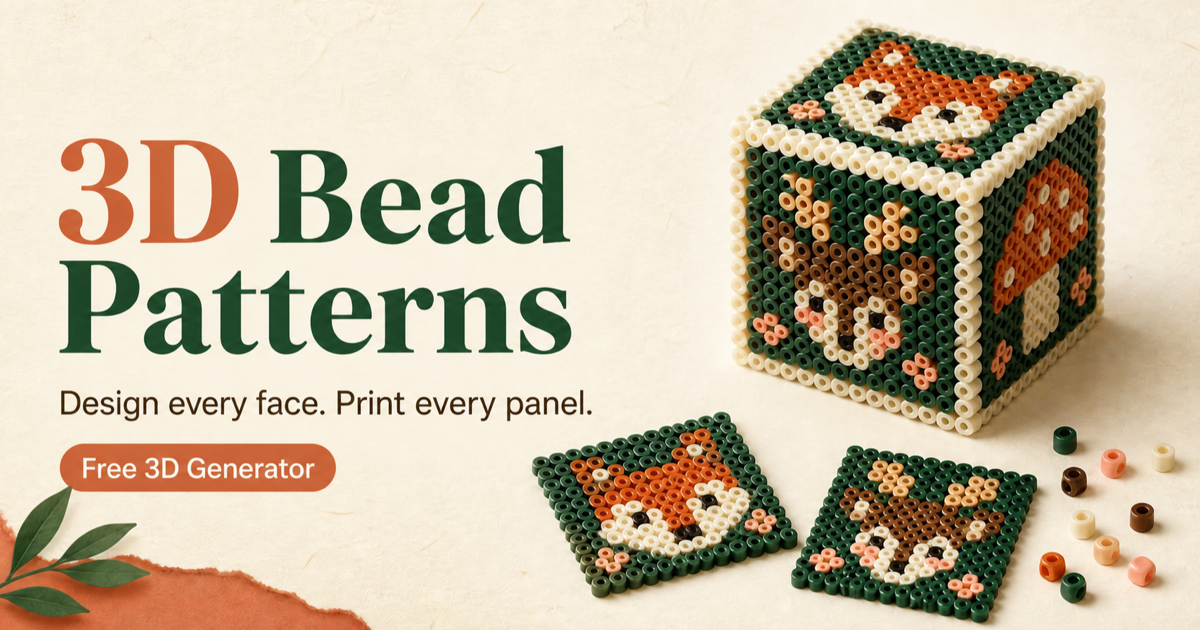
3D Perler Bead Patterns You Can Make
Planning the flat panels is often the hardest part of a 3D bead project. Choose one of the shapes below and the generator creates every printable grid with bead color codes. Always test-fit cooled panels before gluing because ironing changes the final dimensions.
What Are 3D Perler Beads?
3D perler bead projects are built by ironing flat panels, test-fitting them and then joining those panels at right angles. A cube uses six squares; a house uses walls, side panels, roof panels and a base. This generator plans the grids, but the final fit still depends on bead brand, ironing pressure and assembly method.
Preview the result
Rotate a bead-level model before committing time or materials.
Design every panel
Change themes, recolor a whole face or edit a single bead.
Build with a plan
Print grids with exact color counts, test-fit notes and assembly steps.
How to Make a 3D Bead Craft
Generate
Choose a shape, size and color theme.
Place
Follow each panel grid on your pegboard.
Iron
Fuse each panel under parchment paper.
Test-fit and assemble
Check cooled panel dimensions, then join them with craft glue using the included guide.
Which Bead Brands Work?
Perler, Hama, Artkal, Nabbi and Melty beads all use the standard 5mm Midi size, so the 3D patterns work across brands. Photo mode can also match an uploaded image to supported brand palettes.
More Guides & Patterns
- Axolotl Perler Bead Pattern
- 3D Perler Bead Patterns
- 3D Hama Bead Patterns
- 3D Fuse Bead Patterns
- 3D Melty Bead Patterns
- 3D Artkal Bead Patterns
- 3D Perler Bead Animals
- 3D Perler Bead Christmas Patterns
Frequently Asked Questions
Is the generator free?
Yes. It is free, requires no account and supports unlimited patterns.
Can I print the patterns?
Yes. Use Print / Save PDF for a paper or PDF copy, or download the panels as PNG.
How many beads do I need?
The materials card counts every bead by color as soon as your pattern is generated.
Do I need glue?
Some makers fuse panels together, but a small amount of craft glue usually produces cleaner, stronger corners.